
Creative Welding Projects to Test Your TIG Welding Torch Skills
Aug 07,2026
Creative Welding Projects to Test Your TIG Welding Torch Skills
Welding is not just a skill; it’s an art form that allows you to craft beautiful and functional objects from metal. Among the various welding methods, TIG (Tungsten Inert Gas) welding stands out for its precision and versatility. In this article, we’ll explore several creative welding projects that will challenge your skills while allowing you to express your creativity. From functional furniture to artistic sculptures, these projects will provide the perfect opportunity to hone your TIG welding torch skills.
Table of Contents
- What is TIG Welding?
- Essential Tools and Materials for TIG Welding
- Project 1: Metal Coffee Table
- Project 2: Sculptural Welding
- Project 3: Welding Garden Art
- Project 4: Functional Lighting Fixtures
- Project 5: Custom Metal Sign
- Project 6: Tool Rack
- Project 7: Artistic Wall Sculpture
- Conclusion
- Frequently Asked Questions (FAQs)
What is TIG Welding?
TIG welding, or Tungsten Inert Gas welding, is a process that uses a non-consumable tungsten electrode to produce the weld. In this method, a filler metal is manually fed into the weld pool, which offers greater control over the welding process compared to other methods. This precision makes TIG welding ideal for thin materials and intricate designs.
The advantages of TIG welding include:
- High-quality welds: TIG welding produces clean, high-quality welds with minimal spatter.
- Versatility: It can be used on a variety of metals, including aluminum, steel, and stainless steel.
- Control: The welder has greater control over the heat input, allowing for detailed work.
Essential Tools and Materials for TIG Welding
Before diving into our creative projects, it’s essential to ensure you have the right tools and materials. Here’s a list of what you’ll need:
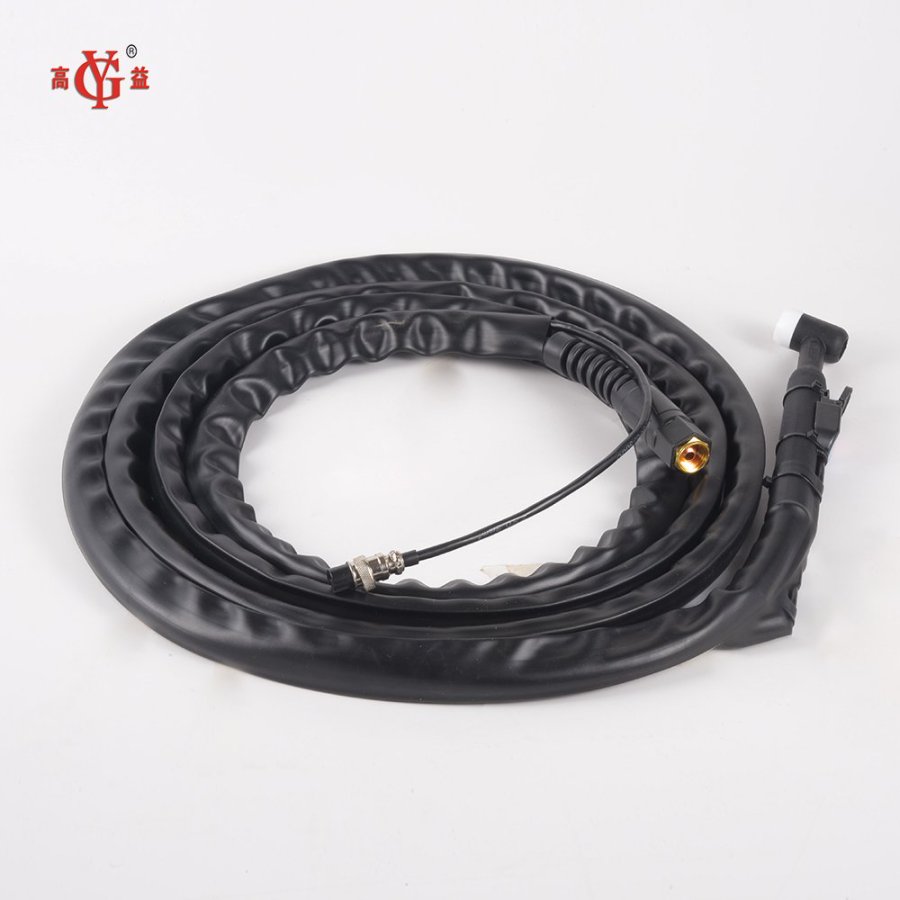
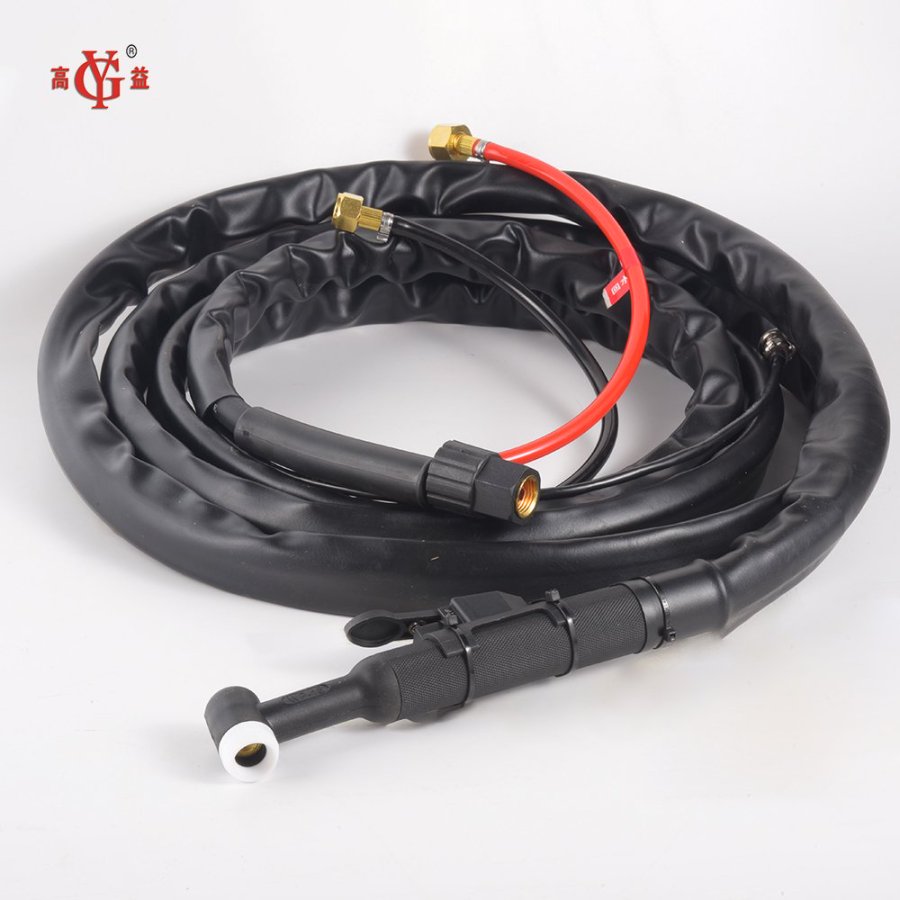
- TIG welding torch: A high-quality torch is crucial for achieving optimal results.
- Welding goggles: Protect your eyes with proper safety gear.
- Filler rods: Select the appropriate filler metal for your projects.
- Metal pieces: Gather various metals based on your project ideas.
- Angle grinder: For cutting and finishing your metal pieces.
- Protective clothing: Wear fire-resistant clothing and gloves for safety.
Project 1: Metal Coffee Table
Create a stunning metal coffee table that combines functionality and artistic flair. Start by gathering scrap metal sheets, pipes, and angles. Here’s a step-by-step guide:
- Design your table: Sketch a design that includes legs, a tabletop, and any desired embellishments.
- Cut the metal pieces: Use an angle grinder to cut your metal sheets and pipes according to your design.
- Assemble the frame: Start by welding the legs to the frame, ensuring stability and balance.
- Add the tabletop: Securely weld the tabletop to the frame. Make sure it’s level and well-supported.
- Finish the surface: Grind down any sharp edges and polish the surface for a clean finish.
Project 2: Sculptural Welding
Transform scrap metal into a stunning sculpture. This project tests your creativity and welding skills. Here’s how to get started:
- Gather materials: Collect various scrap metal pieces that inspire you.
- Develop a concept: Sketch your design and visualize how the pieces will fit together.
- Weld the pieces: Start welding the individual components together, ensuring each piece is securely attached.
- Add details: Use smaller pieces to add texture and depth to your sculpture.
- Finish your sculpture: Clean any weld marks and consider painting or treating the metal for durability.
Project 3: Welding Garden Art
Bring your garden to life with creative metal art. This project allows you to personalize your outdoor space. Here’s a simple guide:
- Choose a theme: Decide on a theme, such as flowers, animals, or abstract designs.
- Plan your design: Sketch out your garden art using simple shapes and forms.
- Collect materials: Gather scrap metal, old tools, and other metal objects that fit your theme.
- Assemble and weld: Start constructing your garden art, welding the pieces together carefully.
- Finishing touches: Clean and paint your art to ensure it withstands outdoor elements.
Project 4: Functional Lighting Fixtures
Create unique lighting fixtures that can enhance your home decor while showcasing your welding skills. Follow these steps:
- Select a style: Decide on a style—industrial, modern, or rustic—for your lighting fixture.
- Gather materials: Use metal pipes, sheets, and electrical components for your design.
- Design your fixture: Sketch out the layout, considering how the light will be integrated into the metal structure.
- Assemble the frame: Weld the metal components together securely.
- Add electrical components: Safely install the lightbulbs and wiring to complete the fixture.
Project 5: Custom Metal Sign
A custom metal sign can personalize your space or make a great gift. Here’s how to create one:
- Choose a message: Decide on a phrase or design that reflects your personality.
- Sketch your sign: Plan the layout and typography for your sign.
- Cut the metal: Use an angle grinder to cut out the letters and shapes from the metal sheet.
- Weld supports: Add brackets or supports for mounting the sign securely.
- Finish and paint: Clean the sign and apply paint or a protective coating as desired.
Project 6: Tool Rack
Stay organized in your workshop with a custom tool rack. This practical project will help you utilize your welding skills:
- Assess your needs: Determine how much space you need and what tools you want to hang.
- Gather materials: Collect metal pipes and sheets for the structure.
- Design the tool rack: Sketch a functional layout that accommodates all your tools.
- Weld the frame: Start welding the pipes and sheets together for a sturdy tool rack.
- Paint and install: Finish with paint and securely mount the tool rack in your workshop.
Project 7: Artistic Wall Sculpture
Bring a pop of creativity to your home with an artistic wall sculpture. This project allows for individual expression:
- Choose your theme: Consider a theme that resonates with your style or interests.
- Plan your design: Sketch the layout and dimensions of your sculpture.
- Gather materials: Collect various metal pieces to construct your design.
- Weld your design: Assemble and weld the pieces together, focusing on balance and aesthetics.
- Finish your sculpture: Clean up any rough edges and apply a protective finish.
Conclusion
Embarking on these creative welding projects not only allows you to enhance your TIG welding skills but also encourages self-expression through metalwork. Each project, from the versatile coffee table to intricate wall sculptures, provides an opportunity to experiment, learn, and innovate. As you progress, remember that practice is key—each weld will bring you closer to mastering your craft. With dedication and creativity, you can turn ordinary metal into extraordinary art.
Frequently Asked Questions (FAQs)
1. What is the difference between TIG welding and MIG welding?
TIG welding uses a non-consumable tungsten electrode, providing greater control and cleaner welds, while MIG welding utilizes a continuous wire feed for faster processes, making it easier for beginners.
2. Can I use TIG welding on aluminum?
Yes, TIG welding is highly effective for aluminum due to its ability to produce high-quality, precise welds.
3. What safety gear do I need for TIG welding?
Essential safety gear includes welding goggles, gloves, fire-resistant clothing, and a well-ventilated workspace to protect against harmful fumes.
4. How do I maintain my TIG welding torch?
Regularly clean the tungsten electrode, check connections, and replace worn-out parts to ensure optimal performance.
5. Are there specific filler rods for different metals?
Yes, use filler rods that are compatible with the base metals you are welding to ensure a strong bond and optimal results.
TAG:
Related Posts
How a Handheld Tip Dresser Can Significantly Enhance Your Welding Quality