
How to Properly Install Spot Welding Electrode Caps: A Comprehensive Guide
Mar 01,2026
How to Properly Install Spot Welding Electrode Caps: A Comprehensive Guide
Table of Contents
Introduction to Spot Welding Electrode Caps
Importance of Proper Installation of Electrode Caps
Tools Required for Installation
Step-by-Step Instructions for Installing Electrode Caps
Preparation Before Installation
Detailed Installation Process

How to Properly Install Spot Welding Electrode Caps: A Comprehensive Guide
Table of Contents
- Introduction to Spot Welding Electrode Caps
- Importance of Proper Installation of Electrode Caps
- Tools Required for Installation
- Step-by-Step Instructions for Installing Electrode Caps
- Maintenance Tips for Spot Welding Electrode Caps
- Common Issues and Troubleshooting
- Conclusion
- Frequently Asked Questions
Introduction to Spot Welding Electrode Caps
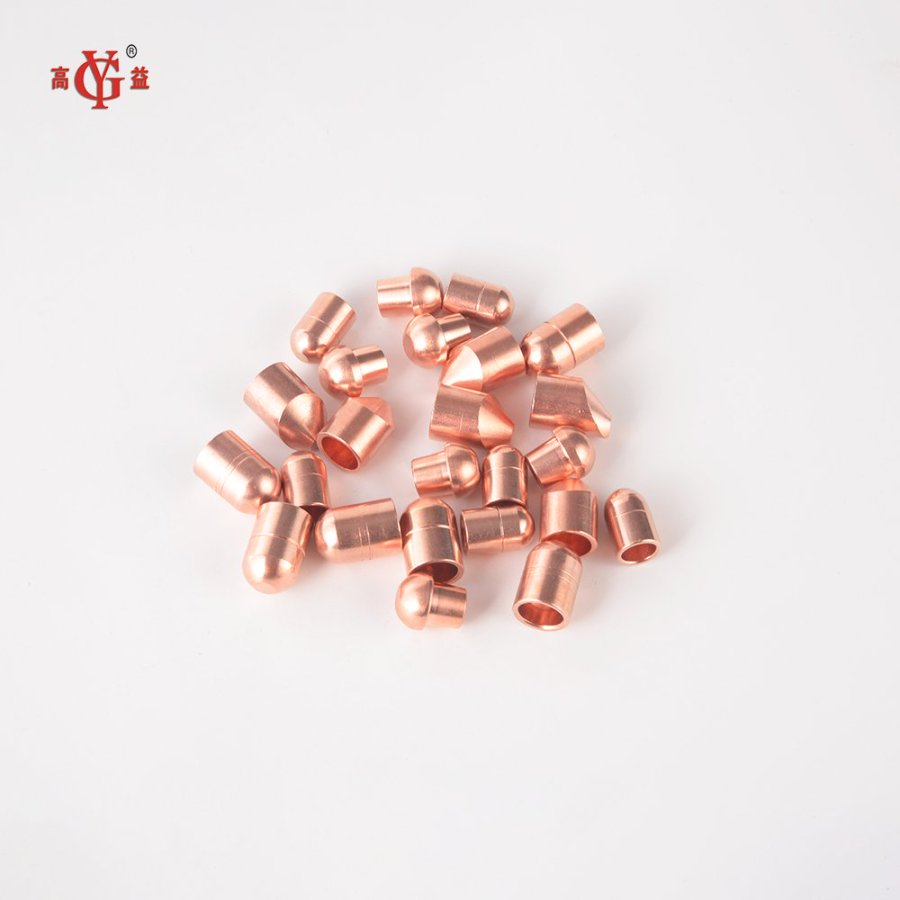
Spot welding is a widely utilized technique in various industries, particularly in automotive manufacturing and metal fabrication. This process relies on the use of electrode caps, which are critical components that concentrate electrical current, creating the necessary heat to bond materials together. Proper installation of these caps not only enhances the quality of the weld but also prolongs the lifespan of the welding equipment. In this guide, we will explore the intricacies of installing spot welding electrode caps to optimize your welding operations.
Importance of Proper Installation of Electrode Caps
The installation of electrode caps plays a pivotal role in the performance of the welding process. This section highlights several key benefits of proper installation:
1. **Enhanced Weld Quality**: Properly installed electrode caps ensure a consistent electrical connection, which is crucial for achieving high-quality welds.
2. **Increased Efficiency**: Well-installed caps reduce the likelihood of welding defects, minimizing rework and increasing overall productivity.
3. **Extended Equipment Lifespan**: Regular maintenance and correct installation of electrode caps can prevent excessive wear and tear on your welding machine, thus prolonging its service life.
4. **Improved Safety**: Ensuring that electrode caps are installed correctly can reduce the risk of electrical malfunctions or hazards during the welding process.
Tools Required for Installation
Before delving into the installation process, it is essential to gather the necessary tools and materials. Below is a comprehensive list:
- **Wrench Set**: For securing the electrode caps in place.
- **Socket Set**: Useful for loosening and tightening bolts.
- **Torque Wrench**: To ensure caps are installed with the correct torque specifications.
- **Cleaning Supplies**: Such as cloths and solvents to clean the electrode surfaces before installation.
- **Safety Gear**: Including gloves, goggles, and protective clothing to ensure safety during the installation process.
Step-by-Step Instructions for Installing Electrode Caps
Following a systematic approach to install electrode caps can significantly enhance the quality of your welds. Here, we outline the steps involved in the process.
Preparation Before Installation
1. **Clean the Welding Machine**: Ensure that the welding machine is turned off and disconnected from the power supply. Use a suitable cleaning solvent to remove any dirt, grease, or residue from the electrode holder.
2. **Inspect the Electrode Holder**: Check for any signs of damage or wear on the electrode holder. If necessary, replace any damaged components to ensure optimal performance.
3. **Select the Right Electrode Caps**: Ensure that you are using the correct type and size of electrode caps compatible with your welding machine and the materials you intend to weld.
Detailed Installation Process
1. **Position the Electrode Cap**: Align the electrode cap with the threaded part of the electrode holder. Ensure that it is facing the correct direction for effective welding.
2. **Thread the Cap**: Carefully screw the electrode cap onto the holder by hand, making sure it fits snugly without cross-threading.
3. **Tighten with Torque Wrench**: Use the torque wrench to tighten the cap to the manufacturer's specified torque setting. This step is crucial to prevent the cap from loosening during operation.
4. **Perform a Final Inspection**: After installation, double-check that the electrode cap is securely in place and that there are no visible gaps or misalignments.
Maintenance Tips for Spot Welding Electrode Caps
Proper maintenance of electrode caps can significantly extend their life and improve welding performance. Here are some essential maintenance tips:
- **Regular Cleaning**: Routinely clean the electrode caps to remove any buildup of debris or contaminants that could affect their performance.
- **Inspect for Wear**: Regularly check the electrode caps for signs of wear or damage, and replace them as needed to maintain optimal performance.
- **Monitor Welding Conditions**: Be aware of the welding conditions (such as pressure and temperature) and adjust settings accordingly to avoid excessive wear on the electrode caps.
Common Issues and Troubleshooting
While installing electrode caps, you may encounter some common issues. Below are troubleshooting tips for these potential problems:
1. **Loose Electrode Caps**: If you notice that the electrode caps are coming loose during welding, double-check the torque settings and ensure they are tightened correctly.
2. **Inconsistent Weld Quality**: If weld quality is inconsistent, inspect the electrode caps for damage or contamination that may be affecting performance.
3. **Overheating of Electrode Caps**: If the caps are overheating, it could indicate that they are not properly installed or that the welding machine is operating outside its optimal parameters.
Conclusion
Installing spot welding electrode caps correctly is a crucial step in ensuring the quality and efficiency of your welding operations. By following the detailed steps outlined in this guide, we can help you mitigate common issues and enhance your welding performance. Regular maintenance and inspections will further contribute to the longevity of your equipment and the quality of your welds. Investing time in learning and applying these best practices will undoubtedly lead to improved results in your spot welding projects.
Frequently Asked Questions
1. **What are the signs that an electrode cap needs replacement?**
Signs include visible wear, cracks, or a decrease in weld quality.
2. **Can I use any type of electrode cap with my welding machine?**
No, always check the compatibility of the electrode cap with your specific welding machine.
3. **How often should I clean my electrode caps?**
Regular cleaning after each use is recommended, but it may vary based on usage frequency.
4. **What should I do if my electrode caps overheat during welding?**
Check installation, machine settings, and consider using a different type of electrode cap designed for higher temperatures.
5. **Is it necessary to use a torque wrench when installing electrode caps?**
Yes, using a torque wrench ensures that the caps are secured to the manufacturer's specifications for optimal performance.
TAG:
Related Posts
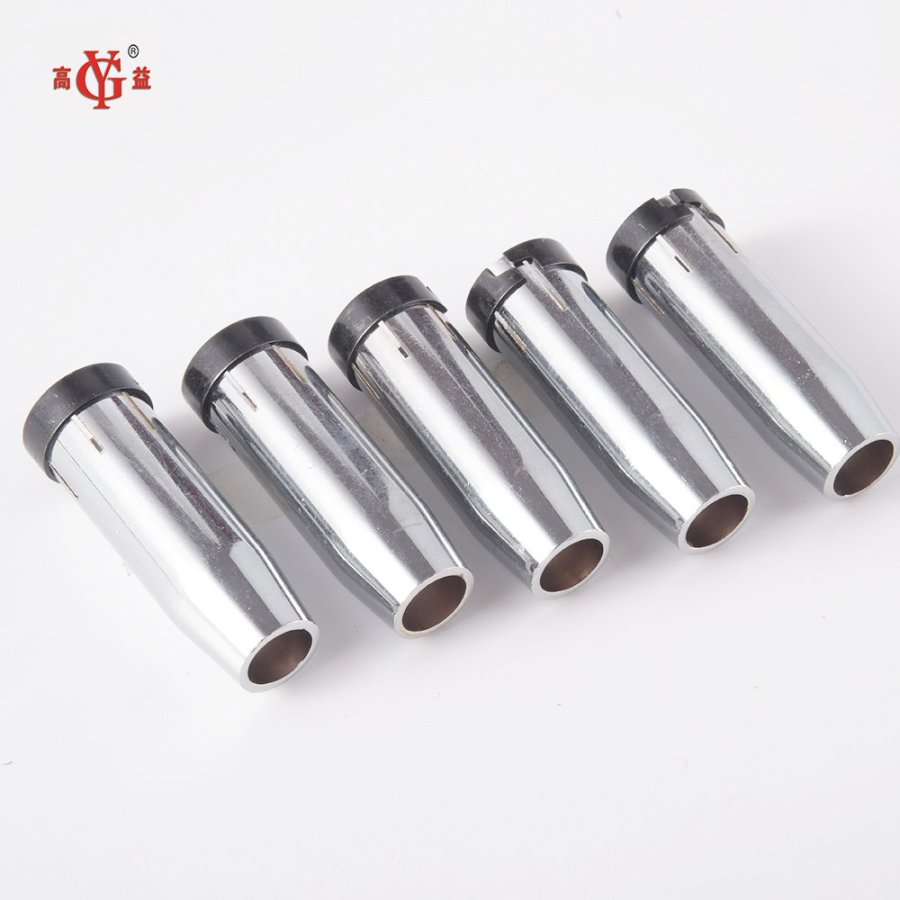
Welding Torch Nozzles: Essential Factors to Consider for Beginners
Welding Torch Nozzles: Essential Factors to Consider for Beginners
Table of Contents
Understanding Welding Torch Nozzles
Types of Welding Torch Nozzles
Material Choice for Welding Torch Nozzles
Size and Diameter Considerations
Nozzle Design and Shape
Common Mistakes to Avoid with Welding Torch Nozzles
Maintenance and Care of Welding Torch Nozzles
Conclusion
FAQs
Understanding W