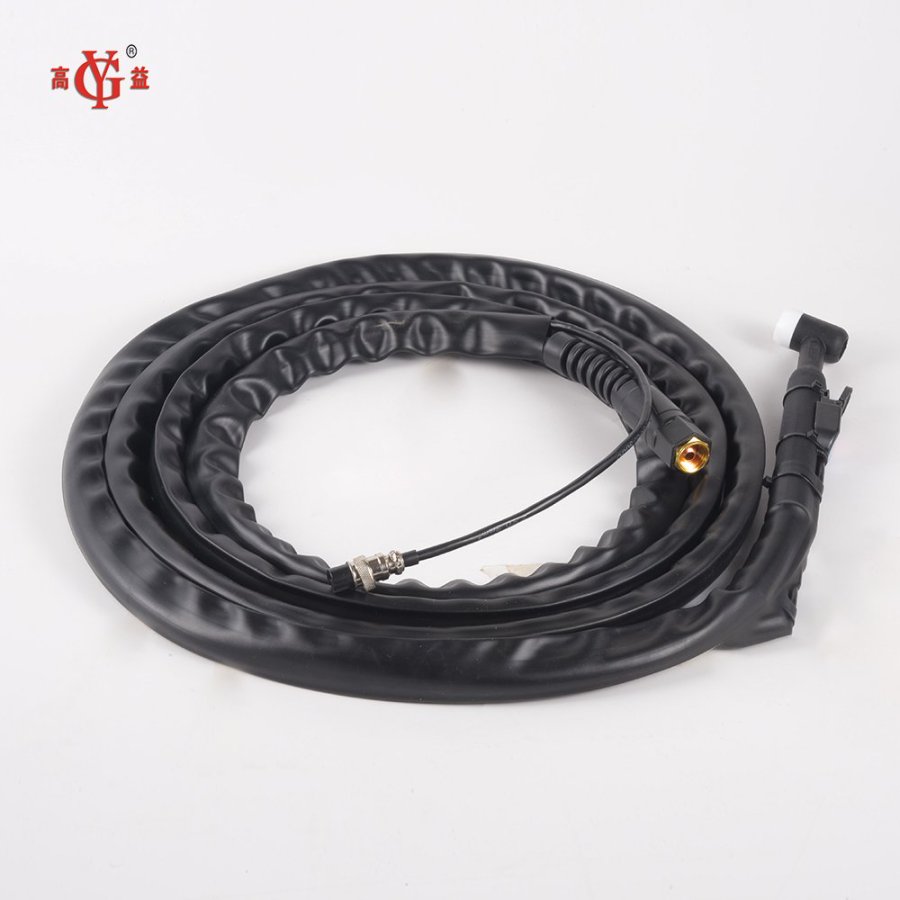

A Comprehensive Beginner's Guide to Mastering Plasma Cutting Torch Techniques
Sep 22,2026
A Beginner's Guide to Using a Plasma Cutting Torch Effectively
Table of Contents
1. Introduction to Plasma Cutting
2. Understanding the Plasma Cutting Torch
3. Essential Safety Measures for Plasma Cutting
4. Choosing the Right Equipment
5. Preparing Your Workspace for Plasma Cutting
6. Step-by-Step Guide to Using a Plasma Cutting Torch
7. Advanced Techniques for Plasma
A Beginner's Guide to Using a Plasma Cutting Torch Effectively
Table of Contents
- 1. Introduction to Plasma Cutting
- 2. Understanding the Plasma Cutting Torch
- 3. Essential Safety Measures for Plasma Cutting
- 4. Choosing the Right Equipment
- 5. Preparing Your Workspace for Plasma Cutting
- 6. Step-by-Step Guide to Using a Plasma Cutting Torch
- 7. Advanced Techniques for Plasma Cutting
- 8. Troubleshooting Common Plasma Cutting Issues
- 9. Conclusion
- 10. FAQs About Plasma Cutting
1. Introduction to Plasma Cutting
Plasma cutting is a highly efficient method used for cutting metals. This technique employs a focused high-velocity jet of ionized gas, or plasma, to melt and remove material from the workpiece. Initially developed for industrial applications, plasma cutting is now extensively used in various sectors, including automotive, construction, and artistic metalwork. This guide aims to walk you through the process of using a plasma cutting torch effectively, highlighting both foundational knowledge and advanced techniques.
2. Understanding the Plasma Cutting Torch
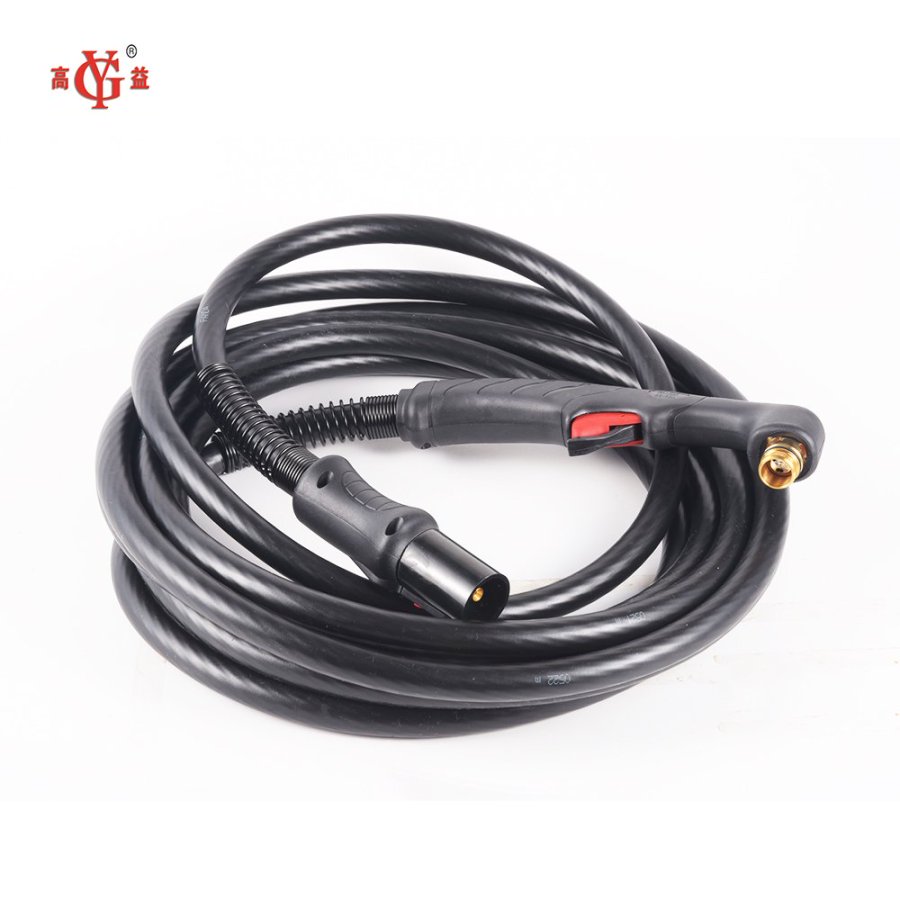
A plasma cutting torch consists of several key components, each playing a vital role in the cutting process:
The Main Components of a Plasma Cutting Torch
- Electrode: The electrode is responsible for producing the plasma arc. It is vital for initiating the cutting process.
- Nozzle: This component focuses the plasma jet and determines the thickness of the cut.
- Gas Supply: Typically, compressed air or other gases are used to create the plasma. The quality and type of gas can significantly affect cutting results.
- Power Supply Unit: This provides the necessary electrical energy to create the plasma arc.
How Plasma Cutting Works
The process begins when the torch is triggered, producing a high-temperature arc. The gas, often air, is forced through the torch and ionized, resulting in a concentrated plasma beam that can cut through metals with remarkable precision. This ability to cut various metals, from thin sheets to thick steel plates, makes plasma cutting an invaluable tool.
3. Essential Safety Measures for Plasma Cutting
Safety should always be a priority when working with a plasma cutting torch. Here are essential safety measures to consider:
Personal Protective Equipment (PPE)
Ensure you wear appropriate PPE, which includes:
- Welding Helmet: Protects your eyes from the bright arc.
- Gloves: Heat-resistant gloves to shield your hands.
- Protective Clothing: Flame-resistant clothing to prevent burns.
- Safety Boots: Steel-toed boots to protect your feet from heavy falling objects.
Workspace Safety
- Maintain a clean and clutter-free workspace to prevent accidents.
- Ensure proper ventilation to avoid inhaling harmful fumes.
- Keep a fire extinguisher nearby and be aware of flammable materials.
4. Choosing the Right Equipment
Selecting the appropriate plasma cutting equipment is crucial for success. Consider the following factors:
Type of Plasma Cutting Torch
There are various types of plasma cutting torches, including handheld and machine-mounted models. Your choice will depend on the scale of your projects and your preferred cutting style. For beginners, a handheld torch is often sufficient for small to medium tasks.
Power Requirements
The power supply for your plasma cutter should align with your intended applications. Ensure that the machine you select can handle the thickness and type of metal you will be cutting.
Accessories and Consumables
Invest in high-quality accessories such as:
- Spare electrodes and nozzles
- Protective covers
- Compatible hoses and clamps
5. Preparing Your Workspace for Plasma Cutting
A well-prepared workspace enhances safety and efficiency. Follow these steps to set up:
Setting Up Your Equipment
- Position the plasma cutter on a stable surface.
- Connect the gas supply and ensure there are no leaks.
- Attach the torch to the power supply securely.
Organizing Your Materials
- Place metal sheets you intend to cut on a flat, sturdy surface.
- Keep tools and materials within easy reach to minimize movement during cutting.
6. Step-by-Step Guide to Using a Plasma Cutting Torch
Follow these precise steps to operate your plasma cutting torch effectively:
Step 1: Setting Up the Torch
Ensure the electrode and nozzle are installed correctly. Check that the gas supply line is connected and free of leaks.
Step 2: Adjusting the Settings
Set the appropriate voltage and current on the power supply based on the thickness of the metal you are cutting. Refer to the manufacturer's specifications for guidance.
Step 3: Initiating the Cut
- Hold the torch at a 90-degree angle to the work surface.
- Press the trigger to start the plasma arc.
- Slowly move the torch along the intended cutting line while maintaining a steady speed.
Step 4: Completing the Cut
Once the cut is finished, release the trigger and let the torch cool down. Avoid touching the hot metal or torch components immediately after use.
7. Advanced Techniques for Plasma Cutting
Once you're comfortable with the basics, consider these advanced techniques to improve your plasma cutting skills:
Precision Cutting
Utilize guide rails or templates for intricate cuts. This technique enhances accuracy, especially for detailed designs or patterns.
Multi-Purpose Cutting
Explore the use of different gases, such as nitrogen or argon, to improve cut quality on specific materials. Each gas provides unique benefits depending on the application.
Speed Control
Experiment with the speed of your cuts. Slower speeds can create smoother edges, while faster speeds may be required for thicker materials.
8. Troubleshooting Common Plasma Cutting Issues
Even experienced users encounter problems. Here are solutions to common plasma cutting issues:
Uneven Cuts
If your cuts are uneven, check your torch angle and speed. Ensure you maintain a consistent distance from the material.
Excessive Slag
Excessive slag might indicate that the cutting speed is too slow. Adjust your speed to achieve a cleaner cut.
Poor Arc Stability
If the arc is unstable, ensure the electrode is not worn out and that the gas pressure is set correctly.
9. Conclusion
Mastering the use of a plasma cutting torch requires practice, patience, and attention to detail. By following the guidelines outlined in this article, beginners can develop the necessary skills to perform high-quality cuts safely and efficiently. Whether you’re using a plasma cutter for artistic endeavors or industrial applications, the knowledge from this guide will empower you to take on various metal cutting projects with confidence.
10. FAQs About Plasma Cutting
1. What materials can be cut with a plasma cutter?
Plasma cutters can effectively cut through steel, aluminum, brass, copper, and some other conductive metals.
2. Is plasma cutting safe?
Yes, plasma cutting can be safe when proper safety measures are followed, including wearing protective gear and ensuring a well-ventilated workspace.
3. How thick of metal can a plasma cutter cut?
The thickness of metal a plasma cutter can handle depends on the machine’s power output, typically ranging from 1/8 inch to several inches for industrial models.
4. How often should I replace the consumables?
The frequency of replacement for electrodes and nozzles depends on usage. Regular inspection is crucial; replace them when you notice signs of wear or damage.
5. Can beginners start with plasma cutting?
Absolutely! With the right guidance, safety precautions, and practice, beginners can quickly learn to use a plasma cutter effectively.
TAG:
Related Posts
How a Handheld Tip Dresser Can Significantly Enhance Your Welding Quality
How a Handheld Tip Dresser Can Significantly Enhance Your Welding Quality
In the world of welding, achieving optimal results is critical for both industrial applications and DIY projects. One of the most effective tools in a welder's arsenal is the handheld tip dresser. This often-overlooked device plays a crucial role in maintaining and improving the quality of welding operations. In this article